White Chocolate Cherry Cheesecake | Personal Recipe
I love to bake, but I can’t call myself a food blogger, for a few reasons. I have a small kitchen. It never has pretty natural light and it’s always cluttered. I don’t have sets of cute matching bakeware. I’ve been known to use the dish rack to store ingredients. I’m frequently covered in flour and get batter all over the countertops. I never plan ahead and almost always have to make last-minute runs to the grocery stores. Most telling? I never follow recipes.
I always try to! I start with recipes! And then I get halfway through and go hmm. I’m constantly tasting the batter and making changes on the fly, so the end result might be pretty far removed from the original recipe. Everything’s a grand experiment. So this weekend when I started making cheesecake, and Andy suggested taking pictures of it and putting it online, I laughed at the thought.
I mean… I know I bake well. My cheesecakes are more popular than I am. But doesn’t it seem like a bad idea? I could just picture getting cream cheese on my lenses. Dropping the camera strap in the batter… yeah, I can be that disorganized in the kitchen.
Well, I did it anyways. And the good news is, I didn’t get anything on my camera. And the cheesecake turned out well. Scratch that… the cheesecake turned out fantastically- even though it was an experiment. It’s light and fluffy and scrumptious and beautiful. And I wrote it all down to share it with you. Ready for it?
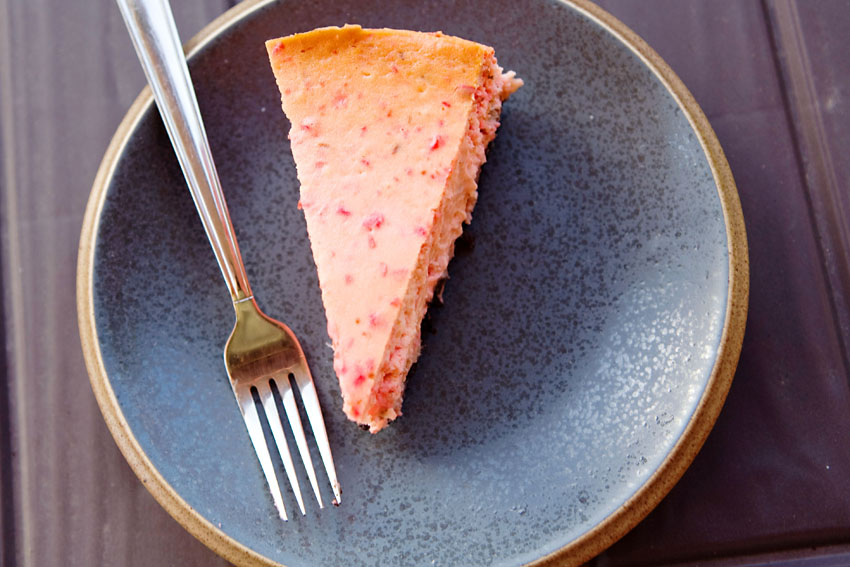
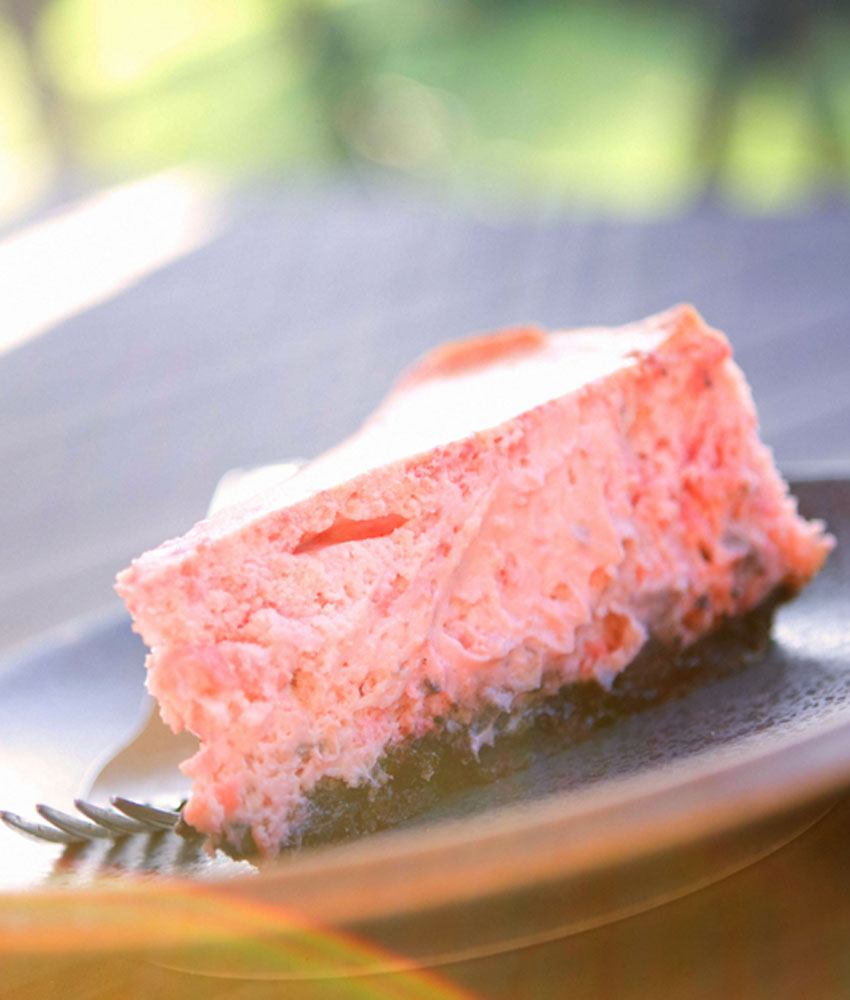
White chocolate cherry chocolate chip cheesecake.
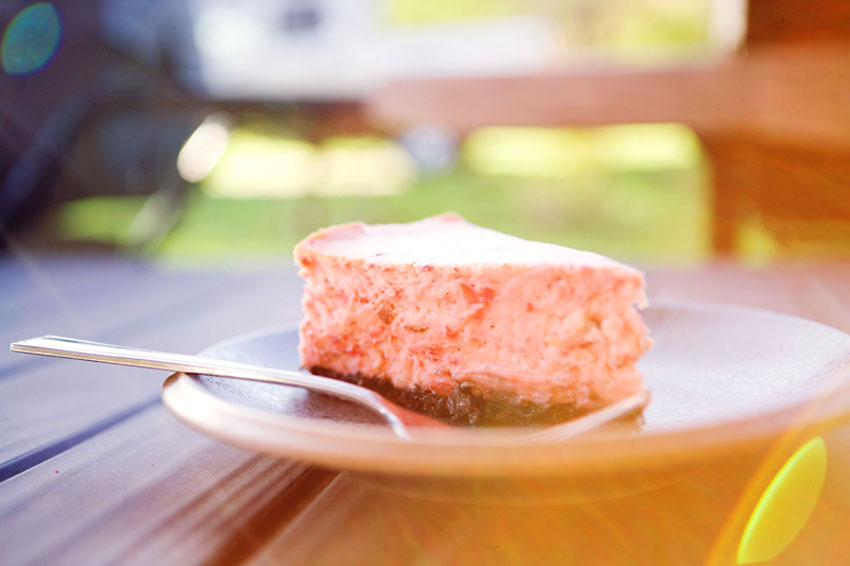
Doesn’t it look heavenly?
One note about this recipe: I often try to bake simply and use as few dishes as possible. Well… this is not one of those recipes. It’s very easy to follow! It’s not scary at all! But it is just a little time-intensive. It also required nearly five million bowls and four hands and a blender and all of my counter space. But it’s oh-so worth it.
I mean- just look at it.
White Chocolate Cherry Chocolate Chip Cheesecake
Filling
- 4 8oz packages of cream cheese, softened
- 1 ¼ cup sugar
- ½ cup sour cream
- 4 large eggs, separated
- 1 teaspoon vanilla extract
- ¼ teaspoon lemon juice
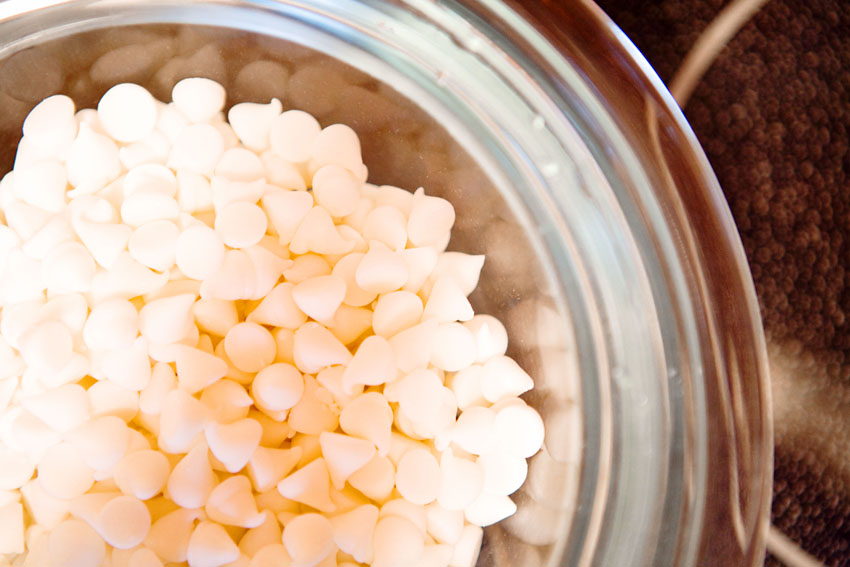
- 1 1/2 cups white chocolate chips
- 1 can cherry pie filling, pureed
- ½ cup milk chocolate, mini chocolate chips or finely shaved chocolate.
- (Note: I recommend using the best-quality chocolate you can find for these chips. I used Valrhona milk chocolate couverture, and the creaminess it added was amazing.)
Crust
- 1 package double-stuffed Oreos, crushed
- 2 tablespoons butter, melted
Preheat the oven to 350. Take a 9 inch spring form pan and wrap the bottom half with aluminum foil. Make sure there are no cracks in the foil on the bottom. Grease the pan.
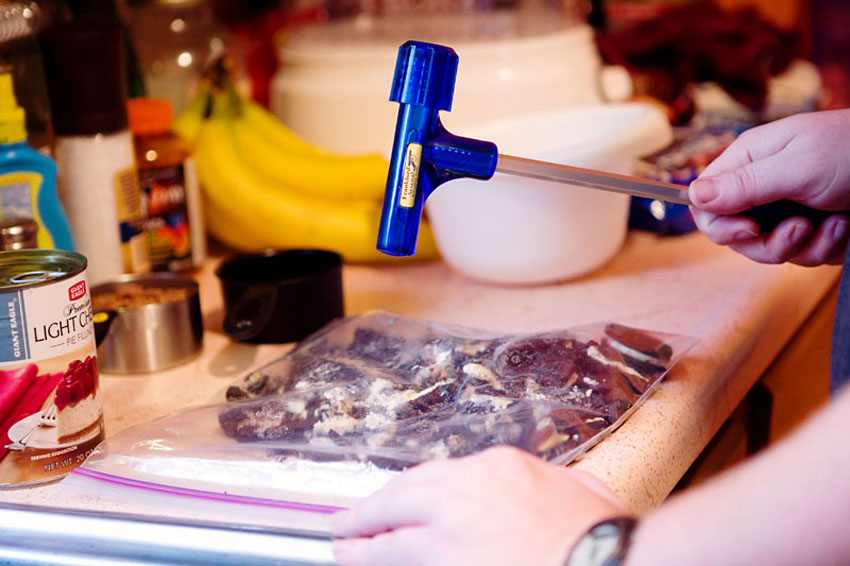
Crush the package of Oreos. You can put them in blender, or you can put them in a Ziploc bag, and then give them to my husband with a hammer. It’s just as quick either way.
Melt the butter, and then add the crushed Oreos. Mix until moistened, and press into the bottom of the pan. Set aside.
To make the filling, start with the cream cheese in a large bowl. Beat for several minutes, until creamy. Gradually, add 1 cup sugar, beating continually until well-blended.
Separate four eggs. The egg whites should go in a small bowl and set aside. The egg yolks should be added one at a time to the filling, beating well in between.
Add the lemon juice, vanilla, and sour cream to the filling. Mix well.
Place the white chocolate chips in a glass bowl. To melt on the stovetop, fill pot with water and place the glass bowl inside. Use medium heat for several minutes, stirring constantly until chips are melted. If using the microwave, put a small amount of water in a slightly larger glass bowl, place the bowl of chips inside of it, and place them in the microwave. Microwave for two minutes at a time, stir, and continue until melted.
Allow chocolate to cool just slightly (don’t let it get hard!) and blend thoroughly into filling.
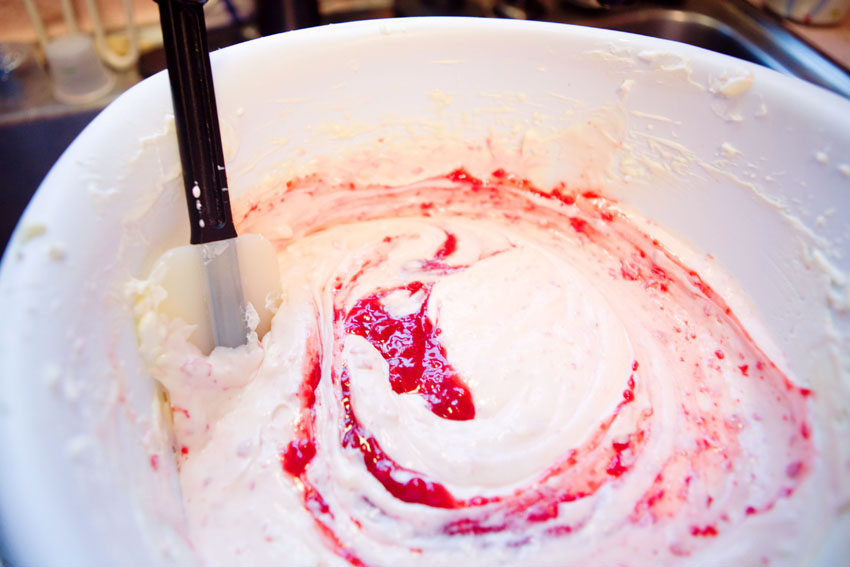
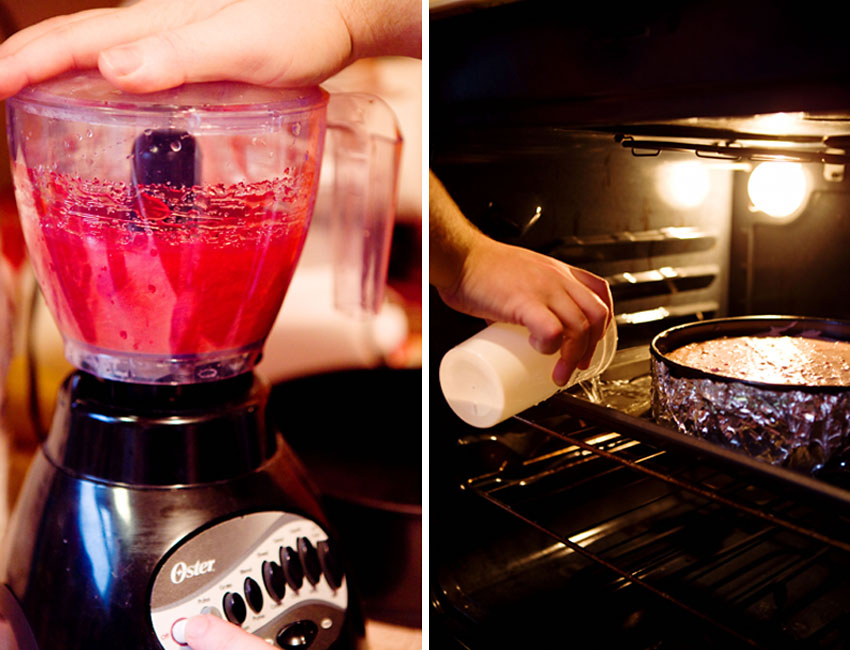
Puree the cherry pie filling until no large chunks remain. Stir into filling. Add the milk chocolate chips.
Take the egg whites in the separate bowl and beat for several minutes, until stiff peaks form. Continuing to beat, slowly adding the remaining ¼ cup sugar. Gradually fold the egg whites into the filling, mixing gently until no streaks remain. Pour the filling into the pan.
Place a flat baking plan in the oven, and put the foil-wrapped spring form pan in the center of it. Pour hot water in the baking pan, up to an inch high on the spring form pan.
Bake for 50-60 minutes, or until the sides are set and the center is almost set- the center will still have some movement. Warning: the cooking time for this recipe is VERY wibbly. If after 60 minutes, the top of the cheesecake is browning or cracking and the center is still too liquid, turn the temperature down to 300 and continue to bake until center is gently set. I had to do this for at least a half an hour, so don’t be afraid if it takes a while. Once the center is nearly set, turn off the oven and allow the cheesecake to rest for another hour. At this point the entire cheesecake should be set. A toothpick inserted into the center will come away clean. Refrigerate overnight, serve chilled.
Enjoy delicious cheesecake bliss.

